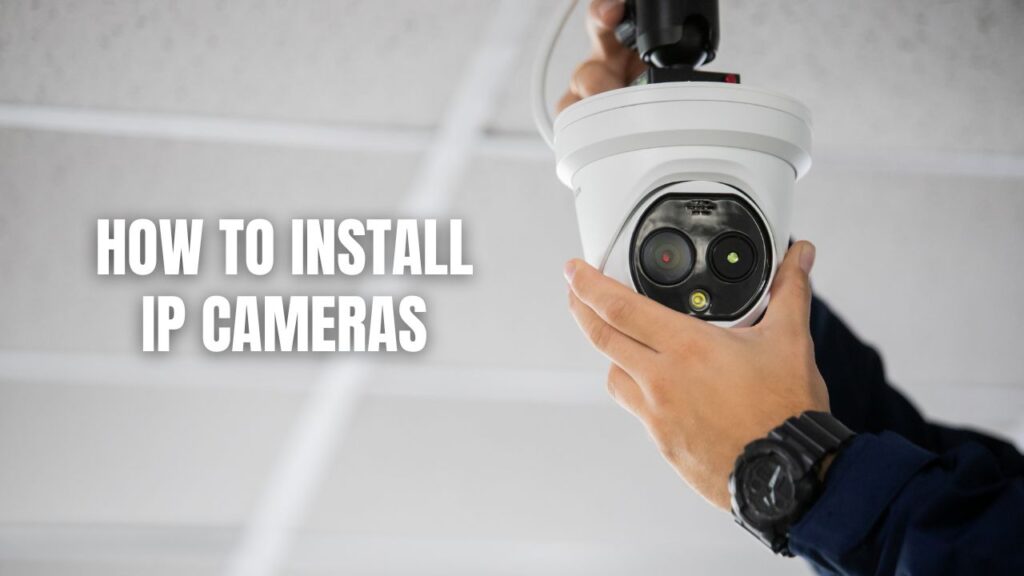
Installing an IP camera involves planning, network setup, and configuration. The process includes choosing camera placement, connecting to power and the network, accessing the camera’s web interface, and adjusting settings for security and performance.
IP cameras provide real-time surveillance, remote monitoring, and enhanced security. With a proper setup, they help deter crime, monitor properties, and ensure safety. Whether for home security or business surveillance, setting up an IP camera correctly maximizes its effectiveness.
Key Takeaways:
- Plan ahead: Choose optimal locations for coverage and network connectivity.
- Network setup is crucial: Ensure stable connections via Ethernet or Wi-Fi.
- Security matters: Change default credentials and enable encryption.
- Test everything: Ensure camera angles, image quality, and remote access work.
- Consider an NVR: For multiple cameras, a Network Video Recorder simplifies management.
Step-by-Step Guide to Installing IP Cameras
Step 1: Plan Camera Placement
- Identify high-risk areas like entrances, driveways, and blind spots.
- Ensure cameras have clear views, avoiding obstructions like trees and walls.
- Consider lighting conditions and install night vision cameras if needed.
- Choose between wired (PoE) and wireless connections based on location.
Step 2: Connect the Camera to Power and Network
- For Wired IP Cameras: Use an Ethernet cable to connect the camera to the router.
- For Wireless IP Cameras: Connect the camera to a power source and ensure strong Wi-Fi signals.
- For PoE (Power over Ethernet) Cameras: Use a PoE switch for power and data transmission.
Step 3: Find the Camera’s IP Address
- Use a network scanner app like Advanced IP Scanner or Fing.
- Log in to your router and check the DHCP client list.
- Some manufacturers provide camera discovery tools for easy detection.
Step 4: Access the Camera’s Web Interface
- Open a web browser and enter the camera’s IP address.
- Log in using the default username and password (found in the manual).
- Change login credentials immediately for security purposes.
Step 5: Configure Network Settings
- Assign a static IP address to avoid connection issues.
- Set up subnet mask, gateway, and DNS servers for smooth operation.
- Enable port forwarding if you plan to access the camera remotely.
Step 6: Adjust Video and Security Settings
- Set the desired resolution, frame rate, and compression format.
- Enable motion detection and configure alerts for notifications.
- Activate encryption (HTTPS/SSL) for secure remote access.
Installing Multiple IP Cameras with an NVR
Step 1: Ensure Proper Electrical and Network Infrastructure
- Use Cat5e or Cat6 Ethernet cables for a reliable connection.
- Install power outlets if cameras are not PoE-enabled.
Step 2: Mount Cameras and Route Cables
- Secure mounting brackets and ensure cameras are stable.
- Use cable conduits or raceways to protect wiring.
- Connect cameras to a PoE switch or power adapter.
Step 3: Set Up the NVR
- Connect the NVR to the same network as the cameras.
- Use the NVR’s interface to detect and add cameras.
- Adjust recording schedules, storage settings, and backup options.
Additional Information About Installing IP Cameras
- Remote Monitoring: Most IP cameras support mobile apps for live viewing.
- Cloud Storage: Some models offer cloud backup options for added security.
- Two-Way Audio: Certain IP cameras allow communication via built-in speakers and microphones.
- Integration: Many systems work with smart home platforms like Alexa or Google Assistant.
FAQs About Installing IP Cameras
Do I need an internet connection for IP cameras to work?
Not necessarily. IP cameras can work on a local network, but an internet connection is required for remote access.
Can I use Wi-Fi instead of an Ethernet cable?
Yes, but wired connections offer better reliability and security.
How do I prevent unauthorized access to my IP camera?
Change default passwords, enable encryption, and use firewall rules.
What is the best resolution for IP cameras?
For home security, 1080p is sufficient. For business surveillance, consider 4K resolution.
Can I install an IP camera outdoors?
Yes, but ensure it is weatherproof (IP66 or IP67 rated) and has adequate protection.
Final Thoughts on Installing IP Cameras
Installing an IP camera is a game-changer for security, but proper setup is essential. By following these steps, you can maximize surveillance efficiency and protect your home or business. Whether using a single camera or an advanced NVR system, taking the time to configure settings correctly ensures peace of mind and optimal performance.
Contact Callaway Security™ to help you install IP cameras professionally.