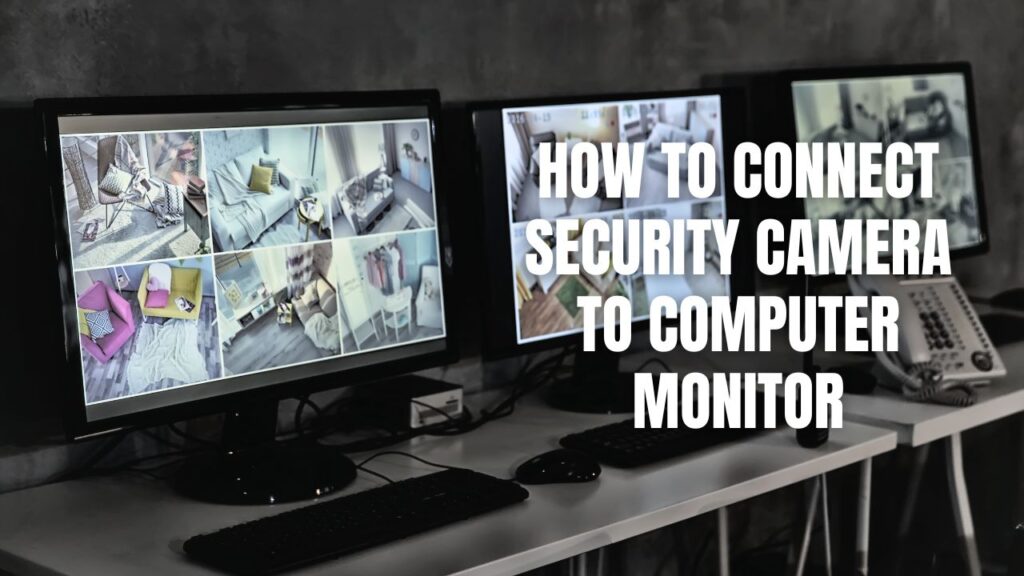
To connect a security camera to a computer monitor, you need to determine the camera type (wired or wireless) and ensure compatibility with your monitor. For wired connections, use HDMI, VGA, or an RCA adapter. For wireless setups, install the manufacturer’s software and connect via Wi-Fi. Power on the devices, configure settings, and troubleshoot as needed for a successful connection.
Having a direct feed from your security camera to your computer monitor allows for real-time monitoring, better security control, and easy access to recorded footage. Whether you’re securing a home or business, knowing how to connect the system correctly is essential for an efficient setup.
Key Takeaways:
- Check Compatibility: Ensure the camera and monitor have compatible ports (HDMI, VGA, or network connections).
- Wireless vs. Wired Setup: Wireless cameras connect via software, while wired cameras require physical cables.
- Use the Right Cables: HDMI and VGA are common for modern cameras, while RCA requires a converter.
- Power Up Devices: Both the monitor and camera must be powered for a working connection.
- Install and Configure Software: Use manufacturer-provided tools to finalize the setup and access the video feed.
- Troubleshooting Tips: Check cables, update firmware, and use the correct input source on the monitor if issues arise.
Understanding Security Camera Connections
Checking Camera and Monitor Compatibility
Before connecting, determine:
- Does your security camera output video through HDMI, VGA, or RCA?
- Does your computer monitor have a matching input port?
- If necessary, purchase adapters (HDMI-to-VGA, RCA-to-HDMI, etc.).
Choosing the Right Connection Method
Wired Setup:
- Use an HDMI or VGA cable for modern security cameras.
- For older cameras with RCA outputs, use an RCA-to-HDMI or RCA-to-VGA adapter.
- If using a DVR/NVR system, connect the system to the monitor via HDMI or VGA.
Wireless Setup:
- Connect the security camera to Wi-Fi through its mobile or desktop application.
- Install the camera manufacturer’s software on your computer.
- Use the software to detect and access the live feed.
Step-By-Step Guide to Connecting Your Security Camera
Step 1: Gather the Necessary Equipment
- Security camera (IP camera, analog camera, or DVR/NVR system)
- Computer monitor (with HDMI, VGA, or other input ports)
- HDMI, VGA, or RCA cables
- Power adapters for the camera and monitor
- Manufacturer’s software (for wireless cameras or IP cameras)
Step 2: Connect the Camera to the Monitor
For Wired Cameras:
- Plug one end of the HDMI or VGA cable into the camera (or DVR/NVR).
- Connect the other end to the monitor’s input port.
- If using an RCA camera, connect it to an RCA-to-HDMI or RCA-to-VGA converter before plugging it into the monitor.
For Wireless Cameras:
- Ensure the camera is powered and connected to Wi-Fi.
- Install the manufacturer’s desktop software.
- Open the software and connect to the camera feed.
Step 3: Power Up the System
- Plug the camera and monitor into power outlets.
- Turn on both devices.
- Set the monitor to the correct input source (HDMI, VGA, etc.).
Step 4: Configure Camera Software
- Install software from the camera manufacturer (if required).
- For IP cameras, find the camera’s IP address using the software.
- Adjust resolution, frame rate, and other settings for the best performance.
Step 5: Troubleshoot Connection Issues
- No video feed? Ensure cables are properly plugged in.
- Poor quality? Adjust resolution settings.
- No connection for a wireless camera? Restart the camera and reconfigure the network settings.
Additional Tips For Connecting Security Camera To Monitor
- Most modern security cameras use PoE (Power over Ethernet) for both power and data transmission, eliminating the need for a separate power source.
- DVR systems are commonly used for analog cameras, while NVR systems are designed for IP cameras.
- Cloud-based security cameras allow access to footage from anywhere but may require a subscription.
- Latency issues can occur with wireless cameras if the network connection is weak.
Frequently Asked Questions (FAQs)
Can I use a regular computer monitor as a CCTV screen?
Yes! As long as the monitor has the necessary HDMI, VGA, or RCA inputs, it can display the camera feed.
How do I connect multiple cameras to one monitor?
You need a DVR or NVR system to connect multiple wired cameras to a single monitor. For wireless cameras, you can view multiple feeds through the software interface.
What if my monitor doesn’t have HDMI or VGA ports?
Use an adapter (such as HDMI-to-VGA or RCA-to-HDMI) to bridge the connection.
Can I view my security camera on my computer without a monitor?
Yes! You can install the manufacturer’s software and view the live feed directly on your computer screen.
Why is my security camera feed not showing on the monitor?
Check if the input source is correctly selected, cables are firmly connected, and the camera is powered on.
Ensuring a Seamless Connection Between Security Camera and Monitor
By following these steps, you can easily connect your security camera to a computer monitor for real-time monitoring. Whether using a wired or wireless setup, choosing the right connection method and configuring software correctly will ensure a smooth surveillance experience. Keep your system updated and well-maintained for the best results! cameras in an ethical and legal manner.
If you need professional help with security system installation around Central and North Georgia, contact Callaway Security™ today!