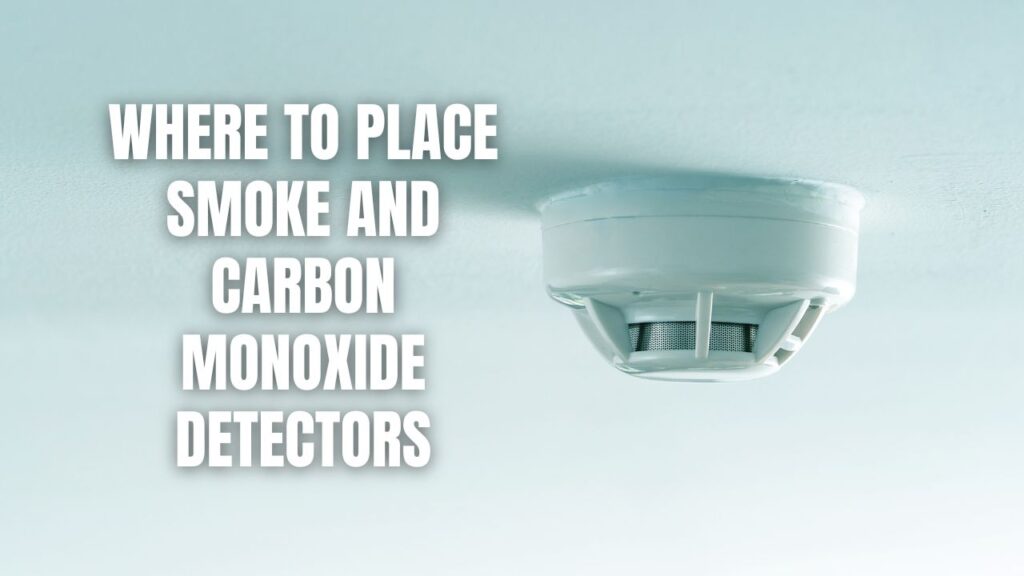
Install carbon monoxide detectors on every level of your home, especially outside sleeping areas and near fuel-burning appliances. This simple step can be the difference between life and death — because CO is colorless, odorless, and completely undetectable without a proper alarm.
Carbon monoxide (CO) poisoning is one of the leading causes of accidental poisoning deaths in the U.S. The good news? A well-placed CO detector gives your household the early warning it needs. Let’s walk through exactly where to put them, how high to mount them, and what spots to skip.
Key Takeaways:
- Every floor matters — place at least one CO detector on each level, including the basement.
- Sleeping areas are top priority — put a detector outside every bedroom or sleeping zone.
- Keep distance from appliances — stay at least 15 feet away from stoves, furnaces, and water heaters.
- Mount it right — about 5 feet high on a wall, or on the ceiling, works best for most models.
- Avoid moisture and airflow zones — skip bathrooms, kitchens, and areas near vents or windows.
Where Should You Put a CO Detector?
The best spots for a carbon monoxide alarm are outside sleeping areas, on every floor, and near any fuel-burning appliances in your home. CO detectors work best when they’re placed where people spend the most time — especially where they sleep, since CO can knock someone out before they even wake up.
Outside Every Bedroom
Put a CO detector in the hallway just outside each bedroom or sleeping area. If your family sleeps in different parts of the house, each zone needs its own alarm. Think of it this way: if someone can’t hear the alarm from their bed with the door closed, it’s too far away.
On Every Floor — Including the Basement
Every level of your home needs at least one CO detector. This includes:
- Basement — especially if you have a furnace, boiler, or water heater down there
- Main floor — covers the living and kitchen areas
- Upper floors — near bedrooms and sleeping spaces
- Attic (if finished) — if people use that space regularly
Near Attached Garages
If your home has an attached garage, place a CO detector near the interior door that connects the garage to the house. Car exhaust can seep through walls and doors faster than most people realize. Keep the detector inside the house — not in the garage itself — since garages can have normal levels of fumes that would trigger false alarms.
How High Should a CO Detector Be Mounted?
Mount your CO detector about 5 feet above the floor on a wall, or flat on the ceiling. Carbon monoxide mixes evenly with air — it doesn’t rise like smoke — so height matters less than it does with smoke detectors. That said, around 5 feet keeps it within easy sight and hearing range.
Pro tip: Always check your manufacturer’s instructions. Some models are built specifically for wall mounting, while others are ceiling-only. Following the manual keeps you covered under warranty too.
Where NOT to Put a CO Detector
Just as important as knowing where to install your detector is knowing where to avoid. Bad placement leads to false alarms — or worse, missed ones.
| Location to Avoid | Why It’s a Problem |
|---|---|
| Right next to a stove or fireplace | Normal cooking or fire fumes can trigger false alarms |
| Bathrooms | Humidity and moisture mess with the sensor |
| Near windows or vents | Air drafts dilute CO readings and reduce accuracy |
| Sunny spots or near heat sources | Temperature swings affect sensor performance |
| Kitchens | Steam, grease, and fumes cause unnecessary trips |
| Within 15 feet of gas appliances | Residual combustion gases can set it off |
Additional Details Worth Knowing
- CO detectors have a lifespan. Most last 5–7 years. Check the manufacture date on the back and replace it when it’s time.
- Combination alarms exist. Smoke and CO combo detectors are available — great for tighter spaces.
- Interconnected alarms are better. When one goes off, they all go off. This is especially useful in larger homes.
- Test monthly. Press the test button once a month to make sure the alarm is working.
- Low-level CO exposure is real. Headaches, dizziness, and nausea that go away when you leave your home can be early signs of CO exposure. Don’t ignore them.
For broader fire and life safety in your home or business, it’s worth looking into professional fire alarm systems that cover both smoke and CO detection as part of a complete safety plan.
FAQs About CO Detector Placement
Can I put a CO detector in the garage?
No — avoid placing CO detectors inside the garage. Normal car exhaust levels in a garage will trigger constant false alarms. Instead, place the detector just inside the door that leads from the garage into your home.
Does a CO detector go high or low on the wall?
About 5 feet up on the wall works well for most models. Since carbon monoxide mixes evenly with air (unlike smoke, which rises), you don’t need to mount it near the ceiling — though ceiling mounting is fine if the manufacturer recommends it.
How many CO detectors do I need?
You need at least one per floor and one outside each sleeping area. For a two-story home with a basement and two bedroom zones, that’s likely three to four detectors at minimum.
Can CO detectors expire?
Yes — most CO detectors have a lifespan of 5 to 7 years. After that, the sensor degrades and may not detect carbon monoxide accurately. Check the label on the back for the manufacture date.
Do I need a CO detector if I have an all-electric home?
It’s still a good idea. Even in electric homes, attached garages, gas grills brought indoors, or visiting appliances can produce CO. Many fire safety codes now require CO detectors regardless of fuel type.
You can also schedule a professional fire alarm inspection to ensure your entire safety system is up to code and functioning correctly.
Keep Your Home Safe — Install CO Detectors the Right Way
Carbon monoxide detectors save lives — but only when they’re in the right spots. Put one outside every sleeping area, on every floor, and near your attached garage. Mount it around 5 feet high, keep it away from kitchens, bathrooms, and vents, and replace it every 5–7 years.
Getting it right the first time matters. If you’re unsure about placement or want a full home safety review, don’t guess — get help from the pros.
Let Callaway Security & Sound Handle It for You
Not sure if your current setup covers every corner of your home? The team at Callaway Security & Sound can help you design and install a complete carbon monoxide and fire safety system — tailored to your home or business. From fire alarm installation to ongoing service and maintenance, they’ve got you covered every step of the way.
Contact Callaway Security & Sound today and get peace of mind that your family is protected — day and night.