A Simple Guide To Installing A Remote Control Light Switch for Beginners
Imagine this: You’re comfortably settled in bed, the room temperature is perfect, and you’ve finally found that cozy sleeping position—only to realize you forgot to turn off the lights. Frustrating, right? This guide will walk you through how to install a remote control light switch for beginners. For professional installation of quality home automation products in Atlanta, contact Callaway Security & Sound today
How to Install a Remote-Control Light Switch in 5 Easy Steps
Step 1: Turn Off the Power
Before starting, turn off the circuit breaker connected to the light switch you’re replacing. Test the switch to make sure there’s no power.
Step 2: Remove the Old Switch and Wire the New One
- Unscrew the existing light switch and pull it out to expose the wires.
- Disconnect the wires carefully.
- Connect the new remote-control switch:
- Black wire (live/hot) → Connect to the line terminal.
- Black or red wire (load) → Connect to the load terminal.
- White wire (neutral, if required) → Connect to the neutral terminal.
- Green or bare wire (ground) → Connect to the ground terminal.
- Secure the new switch back into the electrical box and attach the cover plate.
Step 3: Install the Receiver (If Required)
For remote-controlled ceiling lights or fan-light combos:
- Remove the light fixture globe and unscrew the fixture from the ceiling.
- Locate the existing wires and follow the receiver installation manual.
- Match the wire colors (typically black, white, and blue) and securely connect the receiver.
- Place the receiver inside the fixture, then reattach the fixture to the ceiling.
Step 4: Program the Remote
- Turn the power back on at the breaker.
- Follow the manufacturer’s instructions to pair the remote with the switch.
- Most remotes require holding down a Learn (LRN) button until the light blinks.
Step 5: Test the Remote-Control Light Switch
- Use the remote or smartphone app to turn the lights on and off.
- If the system has a dimmer, adjust brightness settings to confirm smooth operation.
Benefits of Remote-Control Lighting
- Convenience – Control lights without getting up.
- Energy Efficiency – Schedule or automate lighting to reduce energy waste.
- Security – Simulate occupancy when away from home.
Smart Home Integration – Pair with Alexa, Google Home, or Apple HomeKit for voice control.
Why Upgrade to a Remote-Control Light Switch?
With a remote-control light switch, you can control your lighting from anywhere—whether you’re at home, at work, or even on vacation. This technology adds convenience, enhances energy efficiency, and improves security.
What Is a Remote-Control Light Switch?
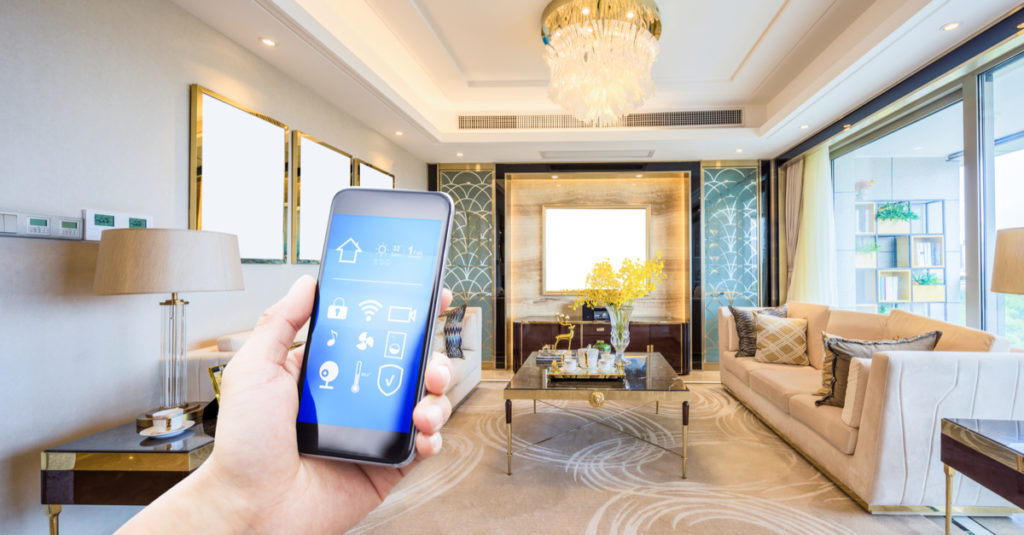
A remote-control light switch is a smart home device that allows you to control your lighting wirelessly. Some switches work via a handheld remote, while others connect to your smartphone, voice assistants (Alexa, Google Assistant), or home automation systems.
Choosing the Right Remote-Control Light Switch
Before installation, consider the type of remote-control light switch that fits your needs:
- Control 4 Switches
- Basic RF (Radio Frequency) Switches – These use a simple remote to turn lights on/off within a limited range.
- Wi-Fi or Smart Switches – These connect to your home Wi-Fi, allowing control via smartphone apps and voice commands.
- Z-Wave or Zigbee Switches – Ideal for smart home hubs like Samsung SmartThings, Hubitat, or Home Assistant.
Upgrade Your Home with Callaway Security
Looking for a reliable remote-control lighting solution? At Callaway Security, we offer smart home automation systems that allow you to control your lighting, security, and more—right from your phone.
Contact us today to learn more about our smart home solutions!
FAQs
Can I Add a Remote to an Existing Light Switch?
Yes! You can install a wireless remote switch kit without rewiring. These kits include a receiver that connects to your existing switch and a remote control for operation. Some options work with Wi-Fi, Z-Wave, or RF signals.
What Is the Best Remote-Control Light Switch?
The best option depends on your needs:
- Lutron Caséta – Great for smart home integration (works with Alexa, Google Assistant, and Apple HomeKit).
- TP-Link Kasa Smart Switch – Budget-friendly, Wi-Fi-based, and easy to install.
- GE Enbrighten Z-Wave Switch – Ideal for homes with Z-Wave hubs like SmartThings.
- Leviton Decora Smart Switch – Works with Wi-Fi and HomeKit, no hub required.
How to Change a Light Switch to Remote Control?
- Turn off the power at the circuit breaker.
- Remove the old switch and disconnect wires.
- Connect the new remote-control switch following the wiring diagram.
- Secure the switch back in place and attach the cover.
- Turn the power back on and program the remote.
How Can I Turn on a Light Remotely?
You can turn on lights remotely using:
- A smart switch with a smartphone app.
- A remote-control light switch with an RF or Bluetooth remote.
- A smart plug for lamps and standalone lights.
- Voice assistants like Alexa, Google Assistant, or Siri with compatible smart lighting.


