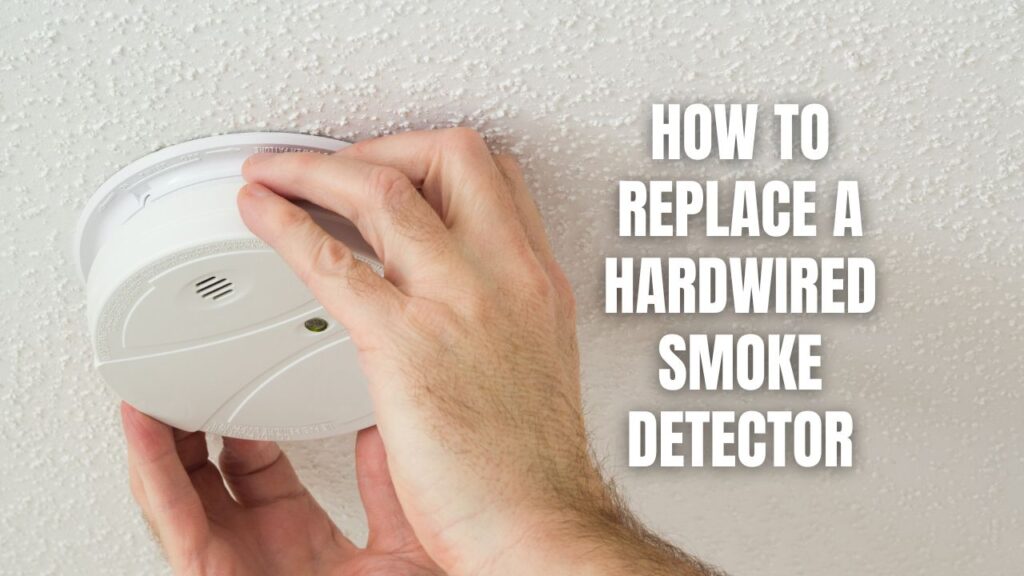
Replacing a hardwired smoke detector involves turning off the power, disconnecting the old unit, connecting the new one, and testing it for proper function. It is a simple DIY task if you are comfortable handling electrical wiring. However, if you have any doubts, hiring a licensed electrician is the safest option.
Smoke detectors play a crucial role in home safety, providing early warnings in case of a fire. Over time, these devices need to be replaced due to age, malfunction, or upgrading to newer models. Hardwired smoke detectors are directly connected to a home’s electrical system and typically come with a backup battery. Replacing them requires basic electrical knowledge and the right tools, but following a step-by-step approach ensures a smooth and safe installation process.
Key Takeaways:
- Turn off power at the circuit breaker before starting.
- Remove the old detector by twisting it off the mounting plate.
- Disconnect the wiring carefully, noting the wire colors.
- Prepare the new detector by ensuring compatibility with existing wiring.
- Connect the new detector by matching wire colors.
- Secure it to the mounting plate and insert a backup battery if needed.
- Restore power and test the detector to confirm proper operation.
- Seek professional help if unsure about handling electrical work.

Understanding Hardwired Smoke Detectors
Hardwired smoke detectors are permanently connected to the electrical system of a home and typically communicate with other units for synchronized alerts. Unlike battery-operated models, they require proper wiring and installation but offer more reliability.
Why Replace a Hardwired Smoke Detector?
- Expired lifespan (typically 8-10 years)
- Malfunctions or frequent false alarms
- Upgrading to a smart smoke detector
- Non-functional backup battery system
Step-by-Step Guide to Replacing a Hardwired Smoke Detector
1. Turn Off Power
- Locate the circuit breaker that controls the smoke detectors.
- Flip the breaker switch off to cut power.
- Use a non-contact voltage tester to confirm power is off.
2. Remove the Old Detector
- Twist the detector counterclockwise to loosen it from the mounting plate.
- Gently pull it down and disconnect the wiring harness.
- Identify three primary wires: black (hot), white (neutral), and red (interconnect).
3. Prepare the New Detector
- Check compatibility with your current system.
- Replace the mounting plate if the new detector requires a different one.
- Secure the mounting plate using the provided screws.
4. Connect the New Detector
- Match and connect wires: black to black, white to white, and red to red.
- Secure connections with wire nuts.
- Tuck excess wire back into the electrical box.
5. Install the New Detector
- Align the new detector with the mounting plate.
- Twist it clockwise until it locks into place.
- Insert the backup battery if required.
6. Restore Power and Test
- Turn the circuit breaker back on.
- Press the test button to ensure functionality.
- Confirm interconnectivity with other detectors by triggering one unit and checking if others respond.
Additional Safety Tips
- Use a stable ladder when working at heights.
- Follow manufacturer instructions for model-specific guidance.
- If unsure, consult an electrician to ensure a safe installation.
FAQs
Can I replace a hardwired smoke detector with a battery-operated one?
No, hardwired systems require continuous electrical connection. However, you can upgrade to a dual-powered model with a battery backup.
How often should hardwired smoke detectors be replaced?
Most manufacturers recommend replacing smoke detectors every 8-10 years.
What happens if I don’t replace an old smoke detector?
An aging detector may become unreliable, leading to false alarms or failure to detect smoke.
Wrapping Up: Keeping Your Home Safe
Replacing a hardwired smoke detector is an essential maintenance task that ensures your home’s fire safety system functions properly. By following the steps outlined above, you can confidently handle the replacement process. If you’re ever in doubt, seeking professional assistance is always a wise decision to maintain safety and compliance.
Contact Callaway Security™ for professionally installed smoke detectors!


