Alarm systems play a crucial role in monitoring and protecting our homes from burglars or intruders. However, there may be times when you need to deactivate your home alarm system temporarily. Whether it’s for maintenance, addressing false alarms, or making changes to the system, knowing how to deactivate the alarm system correctly is essential. In this comprehensive guide, we will provide you with a step-by-step process to deactivate your home alarm system effectively.
Understanding Home Alarm Systems
Before we dive into the deactivation process, let’s familiarize ourselves with some key components of a home alarm system:
- Control Panel: The control panel serves as the central command center for your home alarm system. It allows you to manage and control various functions, including arming and disarming the system.
- Keypad: The keypad is where you enter your alarm code to arm or disarm the system. It is usually near the main door of your property.
- Sensors: Sensors are devices placed strategically throughout your home to detect unauthorized activity. They can include door/window sensors, motion sensors, and glass break detectors.
- Circuit Board: The circuit board is the electronic component of the alarm system that controls its operation and functionality.
- Backup Battery: The backup battery provides power to the alarm system in case of a power outage.
Step-by-Step Guide for Deactivating Alarm Systems

Step 1: Locate the Control Panel
Start by locating the control panel of your home alarm system. It is usually installed in a central area, such as a utility room or closet. If you’re unsure about its location, refer to the user manual or contact the alarm company for assistance.
Step 2: Identify the Power Source
Check if your home alarm system is hardwired or wireless. Knowing the power source is crucial for the deactivation process.
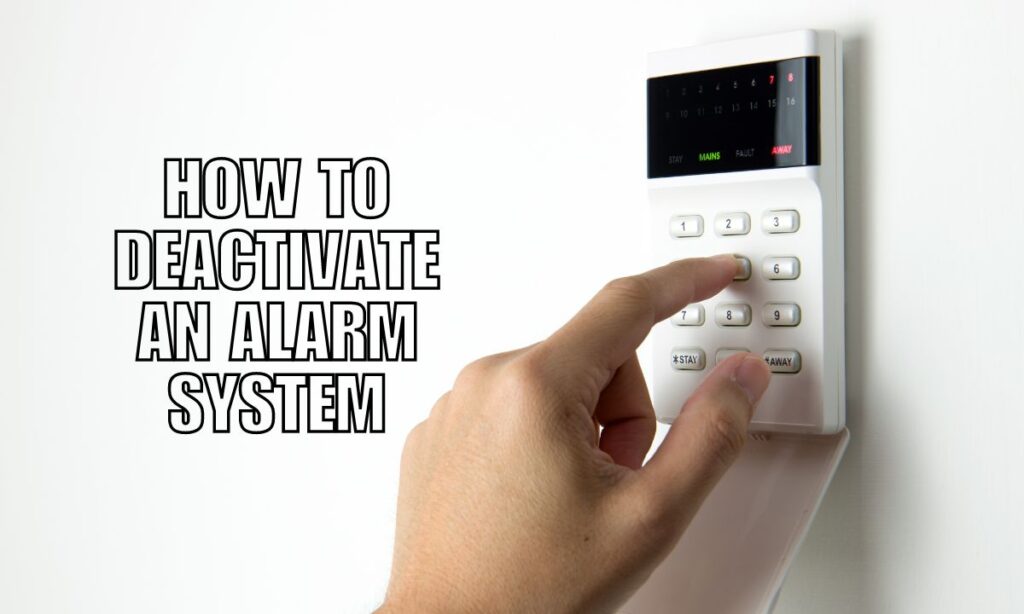
Step 3: Disarm the System
To deactivate your home alarm system, you will need to disarm it using the keypad and your alarm code. If you alarm is armed it can send the police. Enter your code carefully to avoid triggering any false alarms.
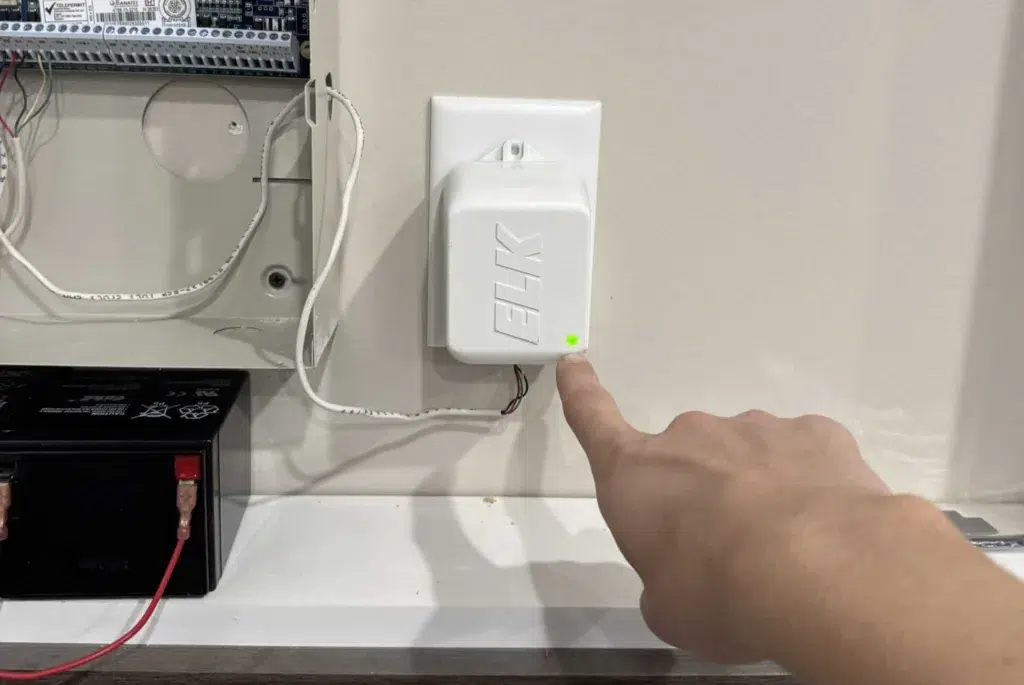
Step 4: Unplug the Transformer (if applicable)
If your home alarm system is powered by AC power, locate the transformer and disconnect its wire plug from the wall outlet. This will disconnect the system’s primary power source.

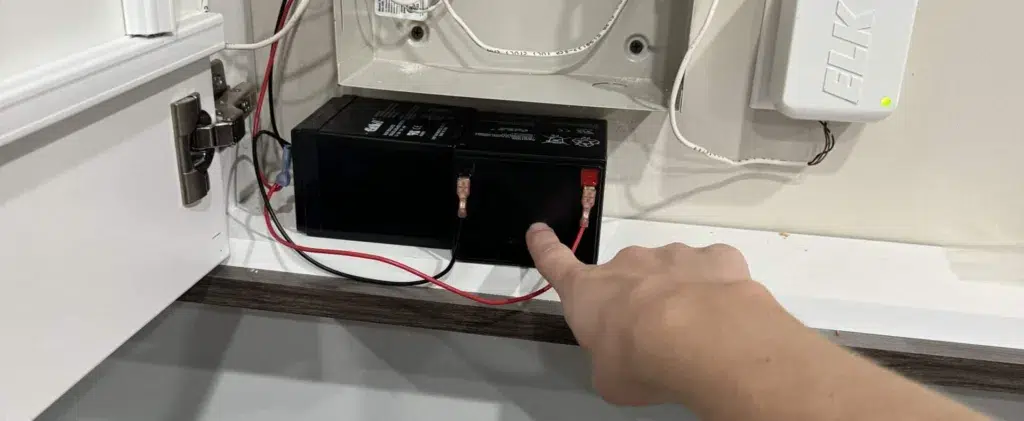
Step 5: Remove the Backup Battery (if applicable)
If your home alarm system has a backup battery, locate the battery compartment on the alarm panel or circuit board. Open the compartment and remove the backup battery. This will ensure that you have completely disarmed the alarm. Remove the red and black terminals by sliding the connectors off.

Step 6: Test the System
After deactivating the alarm system, it’s important to test it to ensure it is shut down properly and no longer functioning. Open a door or window equipped with sensors and check if the siren is triggered. If there is no response or beeping, it indicates a successful deactivation.
Step 7: Reactivating the Alarm System
Once you’ve completed the necessary tasks or maintenance, it’s time to reactivate your home alarm system. Follow the steps in this guide to reconnect the alarm. It is best to follow the manufacturer’s instructions to reconnect and arm the system and ensure it’s ready to protect your home.
Step 8: Seeking Professional Assistance
If you encounter difficulties during the deactivation or reactivation process or need assistance with complex alarm systems, it’s advisable to contact your alarm company or a certified technician for professional help.
Upgrade Your Home Security System
Disarming your alarm system correctly is essential for maintenance, addressing false alarms, or making changes to the system. By following the step-by-step guide provided in this article, you can confidently deactivate and reactivate your home alarm system while ensuring the security of your property.
Looking to upgrade or install a home alarm system? Trust Callaway Security™ for top-notch home security systems in Atlanta, GA. Our experienced team will guide you through the process and ensure your home is protected. Don’t compromise your safety – contact Callaway Security™ today!


