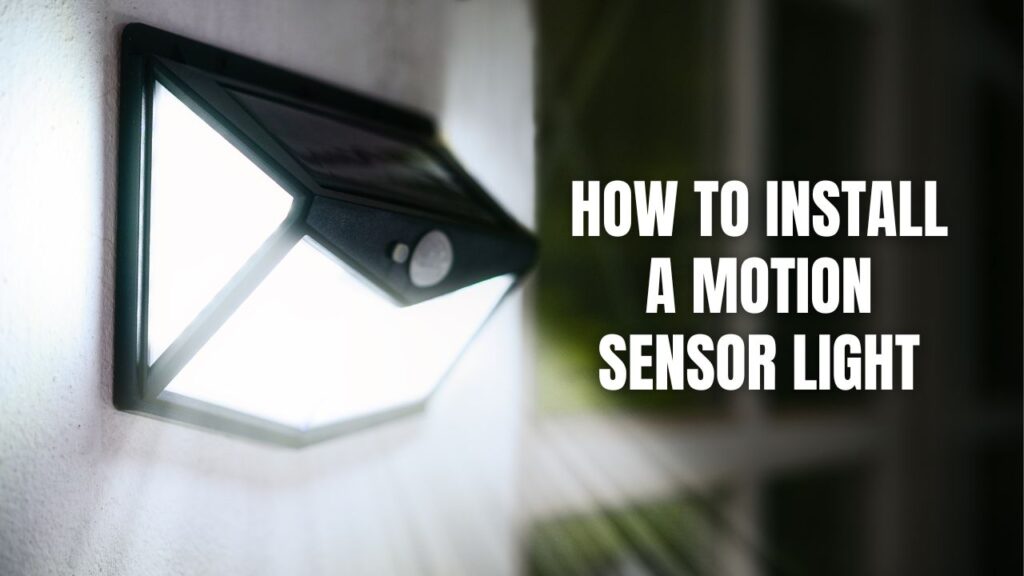
Installing a light motion sensor is a straightforward way to enhance security and convenience around your home. To do it right, follow these steps carefully while ensuring safety and efficiency.
Installing a Light Motion Sensor: A Step-by-Step Guide
- Choose the Right Location: Mount at least 7 feet high, with a clear detection path.
- Turn Off Power: Safety first—shut off the power before installation.
- Remove the Old Fixture: Carefully detach the existing light.
- Wire the New Fixture: Connect the black (hot), white (neutral), and green (ground) wires securely.
- Mount the Fixture: Attach it to the mounting strip and secure it properly.
- Weatherproof the Installation: Use silicone caulk to prevent water damage.
- Adjust and Test: Set up the sensor’s angle and sensitivity to optimize performance.

Choosing the Right Location
A well-placed motion sensor light enhances visibility and security. Install it at least 7 to 10 feet above the ground for optimal coverage. Position the sensor slightly downward and away from windows or doors to minimize glare.
Common Placement Areas
- Front and Back Doorways: Prevents unauthorized entry.
- Garage and Driveway: Ensures better visibility at night.
- Pathways and Side Yards: Improves safety and navigation.
- Patio and Backyard: Deters intruders and increases convenience.
Turning Off the Power
Safety is crucial when dealing with electrical wiring. Head to the main fuse box or circuit breaker and switch off the power supply.
How to Confirm Power is Off
- Use a Non-Contact Voltage Tester: Check the wires to ensure there is no electrical current.
- Try Turning the Light On: If it doesn’t turn on, the power is off.
Removing the Old Fixture
- Unscrew the Existing Fixture: Carefully detach it from the wall or ceiling.
- Disconnect the Wires: Separate the black, white, and ground wires.
- Remove the Fixture Mounting Bracket: If the new fixture has a different mount, replace it.
Wiring the New Fixture
A motion sensor light is wired similarly to a standard light but does not need a separate switch.
Steps to Connect Wires:
- Identify the Wires: Locate the black (hot), white (neutral), and green (ground) wires.
- Connect the Wires:
- Twist the black fixture wire with the black house wire.
- Repeat with the white fixture wire and white house wire.
- Attach the green fixture wire to the bare copper (ground) wire.
- Secure with Wire Connectors: Use pliers and twist-on wire nuts to secure the connections.
Mounting the Fixture
- Attach the Mounting Bracket: Secure it to the electrical box using screws.
- Connect the Fixture: Align and screw the fixture into place.
- Ensure Wires Are Inside: Keep all wires neatly tucked into the electrical box.
Weatherproofing the Installation
To protect against water damage:
- Apply silicone caulk around the wall plate to seal gaps.
- Use weatherproof electrical boxes and covers for extra protection.
Adjusting and Testing the Sensor
- Turn Power Back On: Restore power from the circuit breaker.
- Adjust the Sensor’s Angle: Position it for optimal detection.
- Set Sensitivity and Timer:
- Sensitivity: Adjust to detect motion within the desired range.
- Timer: Set how long the light stays on after motion is detected.
- Test the Light: Walk in front of the sensor to ensure it activates.
Additional Tips for Installation
- Use a Drill: Makes mounting easier.
- Have a Ladder: Ensures safe installation at higher points.
- Secure Wires Properly: Avoid loose connections.
- Check the Manufacturer’s Instructions: Each model may have unique features.
FAQs
How far can a motion sensor detect movement?
Most sensors detect motion within 10-30 feet, but this varies by model.
Can I install a motion sensor light without an existing fixture?
Yes, but you may need to run new electrical wiring from a power source.
Why does my motion sensor light stay on constantly?
This could be due to high sensitivity settings, a stuck switch, or interference from other light sources.
Do motion sensor lights work during the day?
Most models have a daylight sensor, so they only activate in the dark.
Can I use a motion sensor light indoors?
Yes! They work well in garages, hallways, and basements for hands-free lighting.
A Simple and Effective Security Upgrade
Installing a motion sensor light is an easy way to enhance security and convenience. By following the steps outlined, you can confidently set up your light, ensuring it functions effectively for years to come. With proper placement, wiring, and adjustments, you’ll enjoy improved visibility and peace of mind.
If you’re looking to revamp your home security systems around North and Central Georgia, contact Callaway Security™™ today!


